Introduction
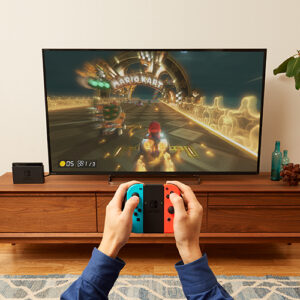
Connecting your Nintendo Switch to your TV is easier than you might think! Whether you just got your console or you’ve been playing handheld for ages, switching to the big screen gives your favorite games a whole new vibe. The colors pop, the sound feels bigger, and it’s perfect for cozy nights with friends or solo gaming marathons.
And hey if you’ve been enjoying every switch free game you can find, imagine playing them on a massive display. Bigger screen, bigger fun, same adorable characters and epic adventures! Let’s walk through how to make that happen smoothly and stress-free.
Understanding How the Nintendo Switch Connects to Your TV
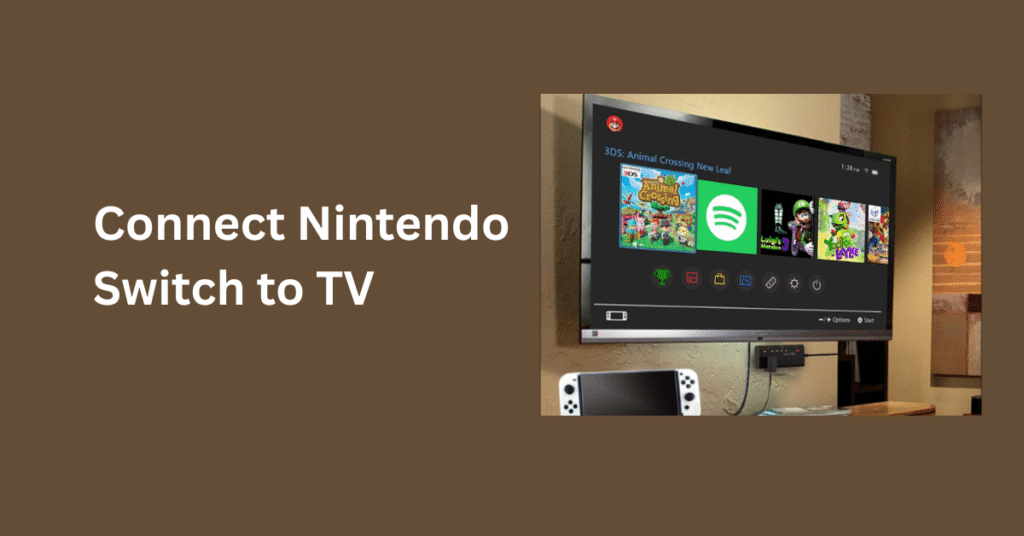
The Nintendo Switch is designed to move effortlessly between handheld and TV mode. It uses a special dock that acts as a bridge between your console and your television. Once docked, your gameplay instantly jumps to the big screen through the HDMI connection no complicated setup or tech knowledge needed.
It’s like magic: one second you’re playing handheld, the next you’re exploring Hyrule or racing in Mario Kart on your living room screen. Whether you love action, puzzle, or switch free game titles, this setup lets you enjoy them all in full glory.
Benefits of Playing Nintendo Switch on a Bigger Screen
Gaming on a big screen brings your Switch experience to life. You’ll notice the difference in color, sound, and immersion. It’s especially great for party games or cozy nights when you want to share the fun with friends or family.
Plus, it’s easier on your eyes, especially during long play sessions. You’ll see every detail, every sparkle, and every cute animation crystal clear whether it’s a big adventure or your favorite switch free game.
What You Need to Connect Nintendo Switch to a TV
Essential Accessories Required (Dock, HDMI Cable, Power Adapter)
Before you start, make sure you have your connect Nintendo Switch to tv dock, HDMI cable, and power adapter. These come with most standard Switch consoles. The dock is what allows the console to connect to your TV, while the HDMI cable carries the video and sound.
Keep your setup tidy and organized it helps avoid loose connections. If you’re missing any piece, official Nintendo accessories are always safest to use.
Compatible TV Ports and HDMI Requirements
Your TV just needs an open HDMI port nothing fancy! Most modern TVs have several. Plug your HDMI cable into one and remember the port number (like HDMI 1 or HDMI 2). You’ll use that info when switching inputs later.
Checking Your Nintendo Switch Model (Standard vs OLED vs Lite)
If you’re using a regular Nintendo Switch or the OLED model, both connect easily to a TV. The Switch Lite, however, doesn’t support TV output. It’s designed for handheld play only. Always check your model before setting up.
Step-by-Step Guide: How to Connect Nintendo Switch to TV
Setting Up the Nintendo Switch Dock
Place your dock on a stable, flat surface near your TV. Open the back panel this is where all the cables connect. Keep things neat and avoid tangling cords for better performance.
Connecting the HDMI Cable to the Dock and TV
Plug one end of the HDMI cable into the dock and the other into your TV’s HDMI port. This cable transmits both video and audio, so you only need one.
Plugging in the Power Adapter for Stable Connection
Connect the power adapter to the dock, then plug it into a wall outlet. The power adapter keeps your console charged and ensures smooth performance while gaming.
Docking the Nintendo Switch Console Properly
Gently slide the Switch into the dock. Make sure the screen faces forward and the console clicks in place. Once it’s docked, the screen will go dark that means it’s ready for TV mode!
Switching TV Input to HDMI Source
Grab you TV remote and switch to the HDMI input you used earlier. You should see the Nintendo Switch home screen pop up instantly.
Confirming Connection and Display Settings
If you don’t see anything right away, double-check the cables. Once connected, you can adjust screen brightness, resolution, and sound in the Switch settings for the best viewing experience.
How to Connect Nintendo Switch to TV Without a Dock
Using a USB-C to HDMI Adapter
If you don’t have your dock handy, don’t worry! You can still connect your Switch using a USB-C to HDMI adapter. It’s small, portable, and perfect for gaming on the go.
Alternative Setup Options for Travel or Small Spaces
This setup is great for travel or dorm life no bulky dock needed. Just plug your adapter into the Switch and connect the HDMI to your TV. Voilà, instant big-screen fun!
Safety Tips to Avoid Console Damage
Be gentle when connecting cables, and avoid using cheap adapters that might overheat. Always stick to trusted brands to keep your console safe.
How to Connect Nintendo Switch OLED Model to TV
Differences in Setup Between OLED and Standard Models
The OLED version connects almost exactly like the standard Switch, but its dock has a sleeker design and a built-in LAN port for smoother online play.
Display Optimization for the OLED Version
You’ll love how bright and colorful everything looks on your TV. Adjust the display settings if needed, and enjoy vibrant visuals — especially when playing your favorite switch free game on the big screen.
Troubleshooting Connection Problems
Nintendo Switch Not Displaying on TV
If nothing shows up, check your HDMI cable and power adapter. Make sure your console is properly docked and the TV input is set to the right HDMI port.
HDMI Signal or Port Not Working
Try a different HDMI cable or port on your Best Gaming TVs for 2025 Sometimes, a quick switch solves the issue.
Power or Charging Issues During Connection
Ensure your dock is plugged into a working outlet. If your Switch battery is very low, give it a few minutes to charge before connecting again.
Audio Not Playing on TV
If you see visuals but no sound, double-check that your TV’s volume isn’t muted and the HDMI cable is fully inserted.
Steps to Reset or Reconnect Safely
Restart your console and reinsert it into the dock. A quick reboot often fixes most connection hiccups.
Tips for the Best Gaming Experience on TV
Adjusting Display and Sound Settings
Tweak your brightness, sound, and resolution for crisp visuals. You can even use headphones for immersive gameplay.
Using a Pro Controller for Better Control
A Pro Controller gives you smoother controls and feels amazing for long gaming sessions. It’s a game-changer for serious players.
Reducing Input Lag and Improving Picture Quality
Use a high-quality HDMI cable and switch your TV to “nintendo switch lite ” for faster response time.
Maintaining Your Dock and Cables
Keep your cables tidy and your dock dust-free. A clean setup keeps everything working smoothly and looking cute!